

NetSuite M2M OAuth setup for Stuut
This is the complete setup for the standard Stuut NetSuite integration.1. Enable NetSuite features
As a NetSuite Administrator, go to Setup → Company → Enable Features. Enable:- OAuth 2.0 under SuiteCloud
- REST Web Services under SuiteCloud / SuiteTalk (Web Services)
- SuiteAnalytics Workbook under Analytics, because it is listed in the Stuut reference permissions
Enable SuiteAnalytics Connect only if Stuut confirms that this tenant uses a separate Connect/ODBC/JDBC connection.
2. Create or update the Stuut integration role
Go to Setup → Users/Roles → Manage Roles → New. Name it something likeStuut Integration.
Add the following permissions from the supplied Stuut reference sheet.
Transactions
Reports
Lists
Setup
The key permission for M2M OAuth is Log in using OAuth 2.0 Access Tokens. The other permissions determine which NetSuite records Stuut can read.
After changing permissions on a role that is already connected to Stuut, re-authorize the NetSuite connection in Stuut and run Check Health again.
3. Assign the role to a dedicated service account
Create or identify a dedicated NetSuite employee/service-account user for Stuut. Assign theStuut Integration role to that employee. Avoid using an individual administrator’s everyday NetSuite account.
4. Generate the certificate key pair
Here is one way to generate the keys on macOS, Linux, or another Unix-like system with OpenSSL:- Upload
stuut_public.pemto NetSuite. - Keep
stuut_private.pemconfidential; share it with Stuut only via the approved secure-secret channel.
5. Create the NetSuite Integration Record
Go to Setup → Integration → Manage Integrations → New. Set:- Name:
Stuut Collections - Production - State: Enabled
- Enable Client Credentials (Machine to Machine) Grant
- Enable REST Web Services
- Leave RESTlets unchecked
- Enable SuiteAnalytics Connect
- Client ID
- Client Secret
- Application ID, if displayed
6. Create the M2M certificate mapping
Go to: Setup → Integration → Manage Authentication → OAuth 2.0 Client Credentials (M2M) Setup Click Create New and select:- Entity: the dedicated Stuut service-account employee
- Role:
Stuut Integration - Application:
Stuut Collections - Production - Certificate: upload
stuut_public.pem
7. Connect NetSuite to Stuut
Log in to Stuut and navigate to General Settings → Connectors → All Connectors. Choose NetSuite from the list. Click Add and follow the instructions in the window. You will enter the credentials from the previous steps.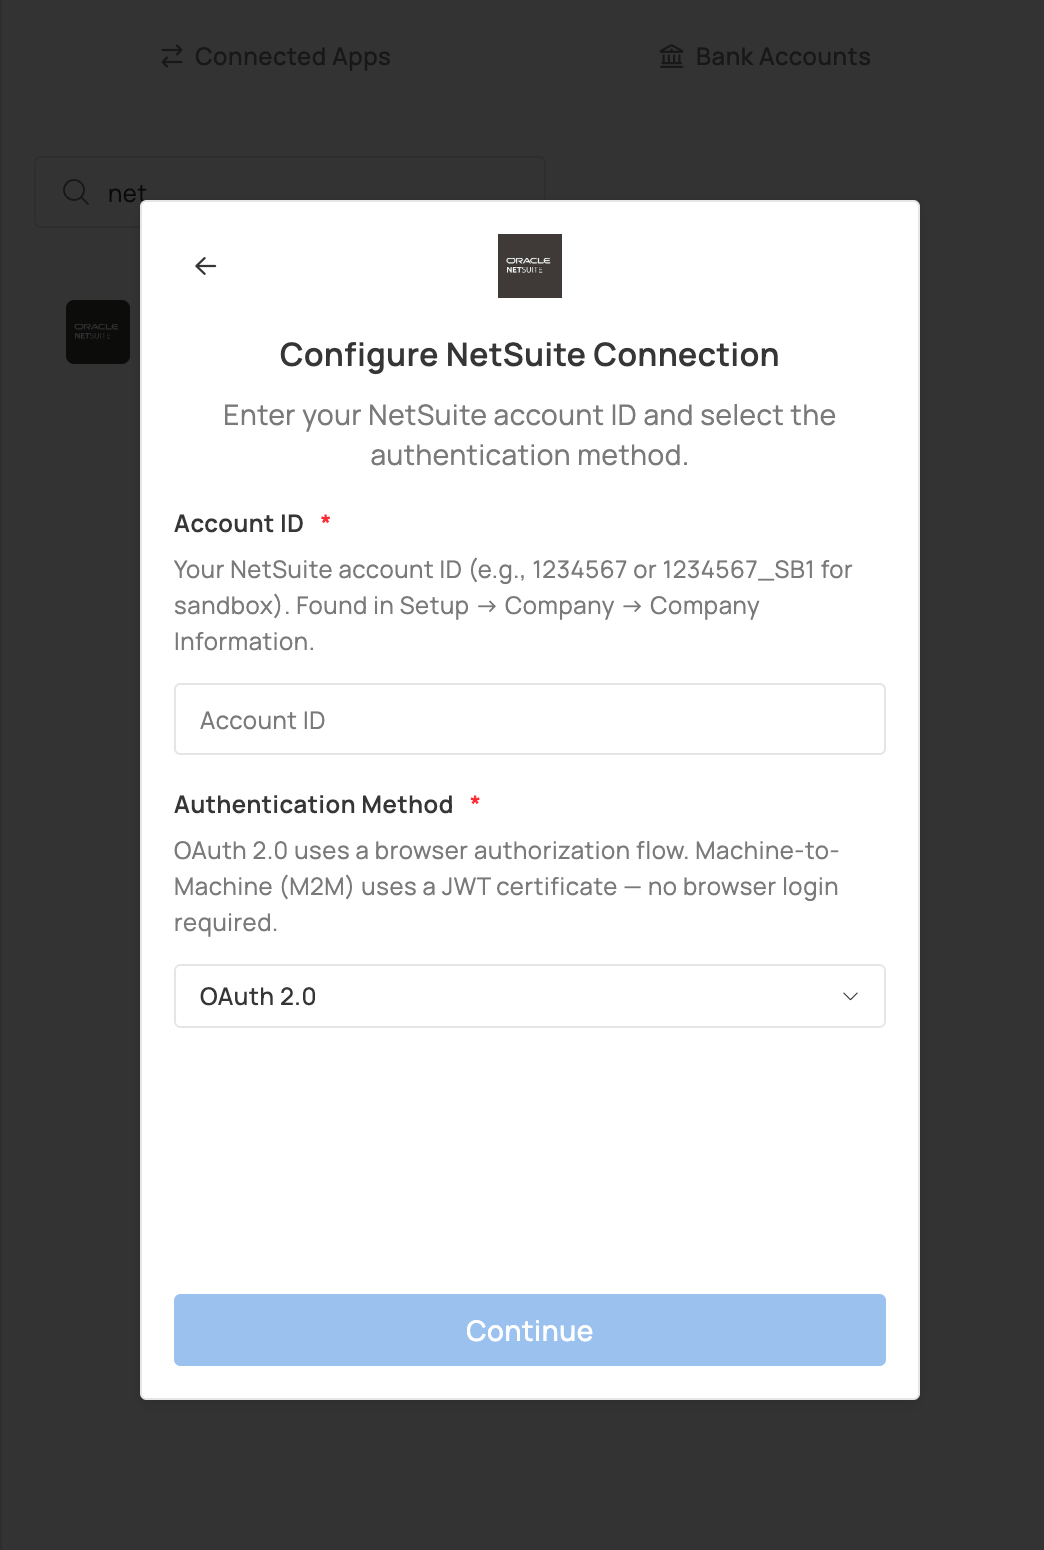
Configure NetSuite connection in Stuut
8. Validate the connection
Click the Check Health button in the top right. If everything was set up correctly, a success message will pop up. The integration is now set up and ready.9. Optional: cash-application write-back
Only do this if Stuut will create payments in NetSuite. Update the integration role:
Use Full only if Stuut needs to reverse or void payments.